Your easy guide to Glide & Lock
Which Glide & Lock mat will work for you?
Here is our jargon busting guide on what they are and how they work…
WHY MIGHT I NEED A GLIDE & LOCK?
Also referred to as One-way slide sheets, Glide & Lock slide sheets have been designed to provide comfort and security to anyone with limited mobility/strength while seated. A combination of clever design and specialist fabrics allows the user to slide backwards easily while seated, but not forwards. As a result they are able to initially position themselves, but then relax and benefit from the reassurance of limited movement forward – reducing their chances of falling forward or slipping down.
HOW DO THEY WORK?
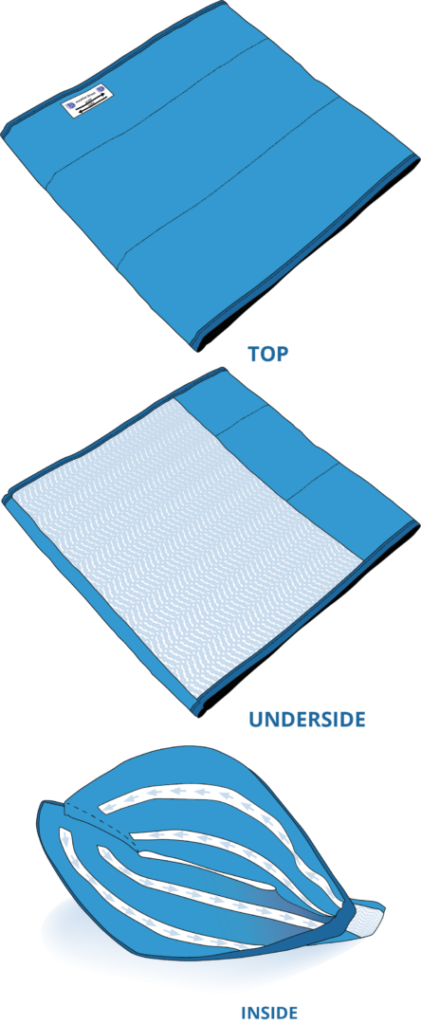
Essentially all of our Glide & Lock products are fabric tubes. It is simply the clever fabrics that we have used that make the difference.
Non-slip panel
Glide & Lock mats have a special anti-slip panel on their underside. This comes in direct contact with the seat area of your chair, wheelchair or bed. It’s ability to grip stops the mat from moving on the chair once you are seated correctly.
ONE-WAY STRIPS
The inside of the tube contains clever fabric straps that will slide over themselves easily in one direction, but create a high level of resistance in the opposite direction.
How do I use one?
Step 1 – the right way around
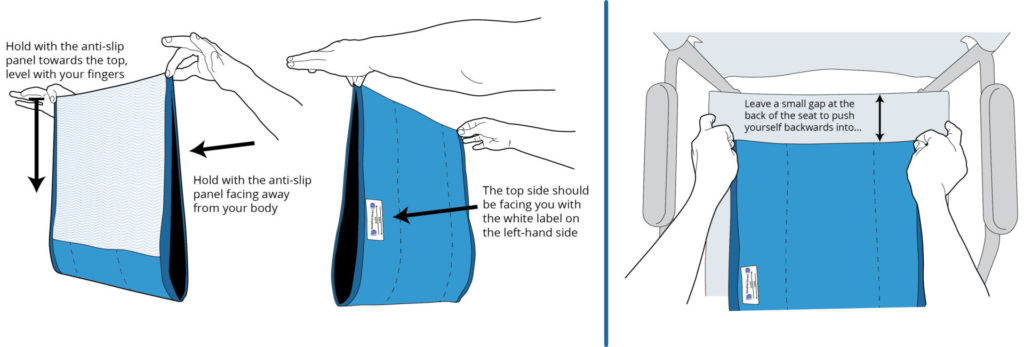
It is important your mat is positioned the right way in order for it to work properly. You should be able to easily glide backwards in your chair, but not forwards.
Hold your mat in front of you by the top corners. The little white directional label should be visible down the left-hand side. The anti-slip panel should be facing away from you with its top seam at the top.
Step 2 – Positioning
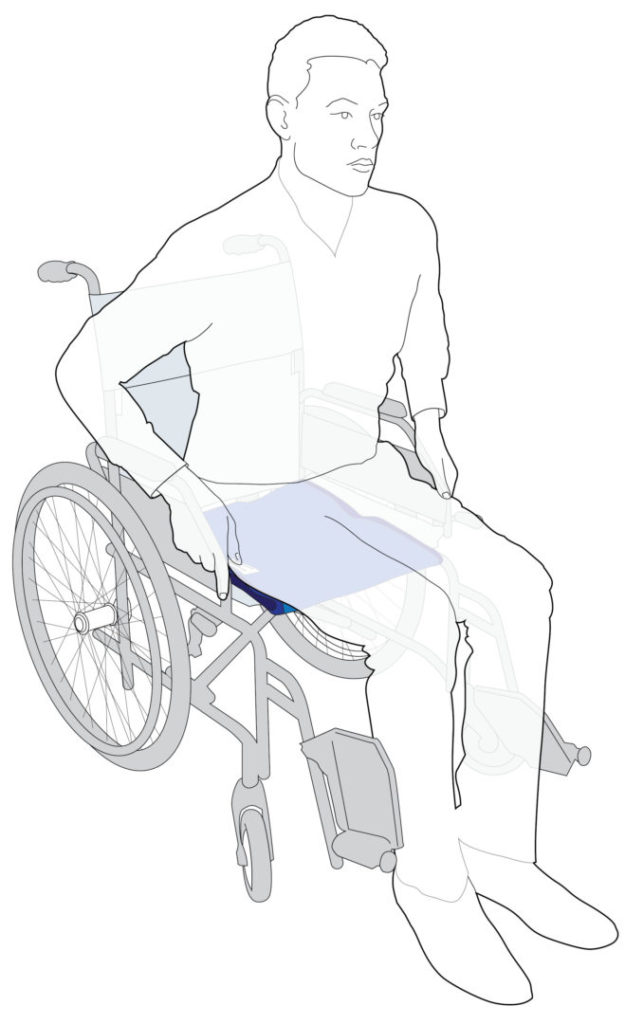
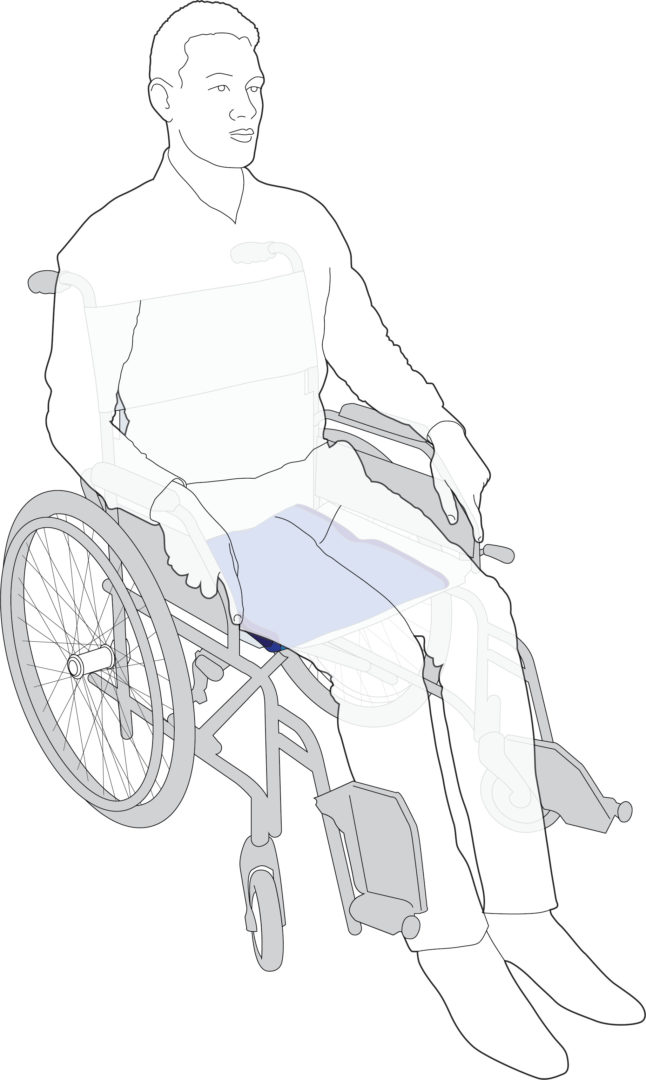
Now place your mat on the chair, wheelchair or bed. Remember that you will be pushing yourself backwards, so don’t place it right at the back – you need to leave room to travel around 2″/5cm backwards.
To re-cap, your mat should now be near the front of your chair. The anti-slip panel is on the underside in direct contact with the surface of the seated area of the chair. The little white label is down the left-hand side, with the “Glide” arrow pointing towards the back of the chair, and the “Lock” arrow pointing towards the front.
Step 3 – Sit
When you initially sit you need to be slightly forward in the chair – you will be sliding backwards and you need to allow space to slide into.
Step 4 – Push back
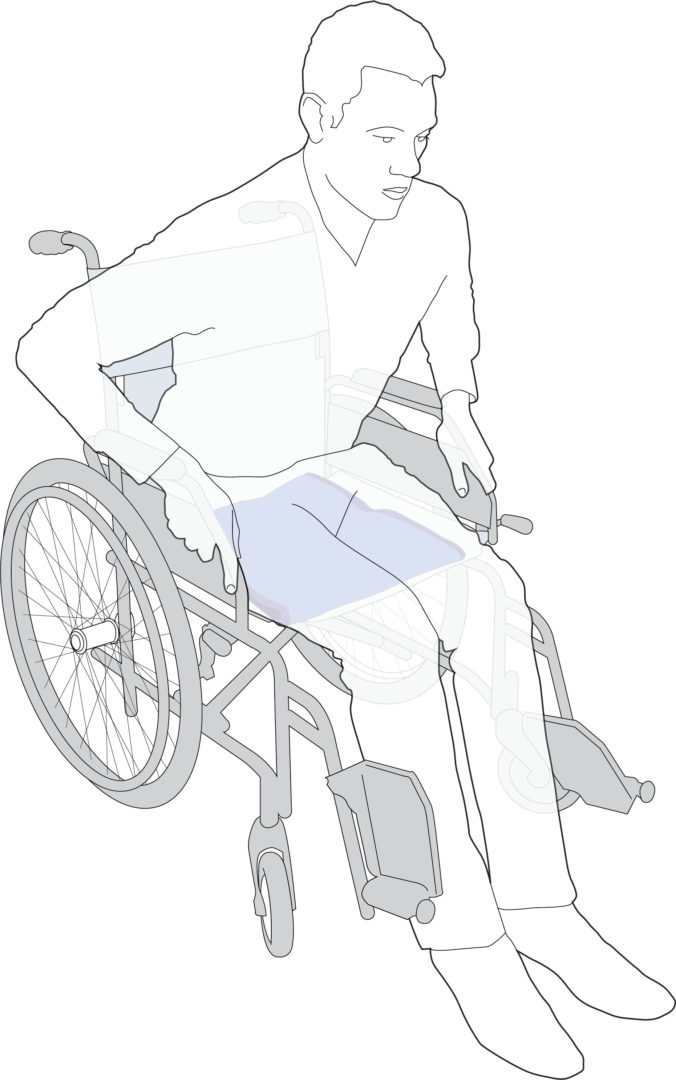
If you are able, push yourself back in the chair from your feet. If you are unable on your own, you may need a carer to help – although the mat is designed to make it easier than directly on a conventional chair and it doesn’t need as much strength as you would expect.
DO NOT lift yourself out of the chair at the same time. Allow the mat to roll underneath you. Its special internal strips will help you to glide backwards.
Step 5- And relax
Our special internal strips are designed to restrict roll in the opposite direction. This helps stop you from sliding forward and helps to maintain your comfort and posture.
What are my options?
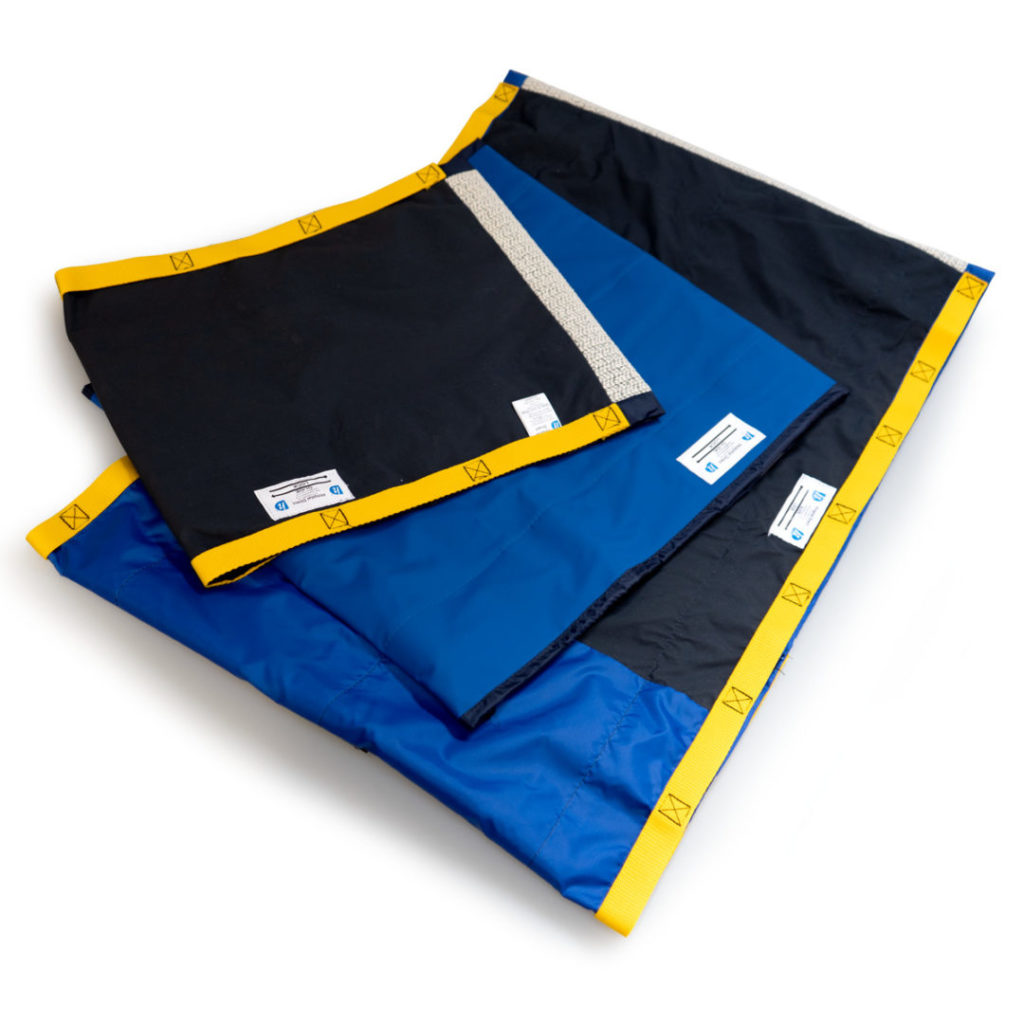
Our standard Glide & Lock mats come with four options; cushioned, handles, wipeable and size. And because they are all manufactured in-house in our Shropshire factory, you can mix and match to whichever combination suits you…
Cushioned?
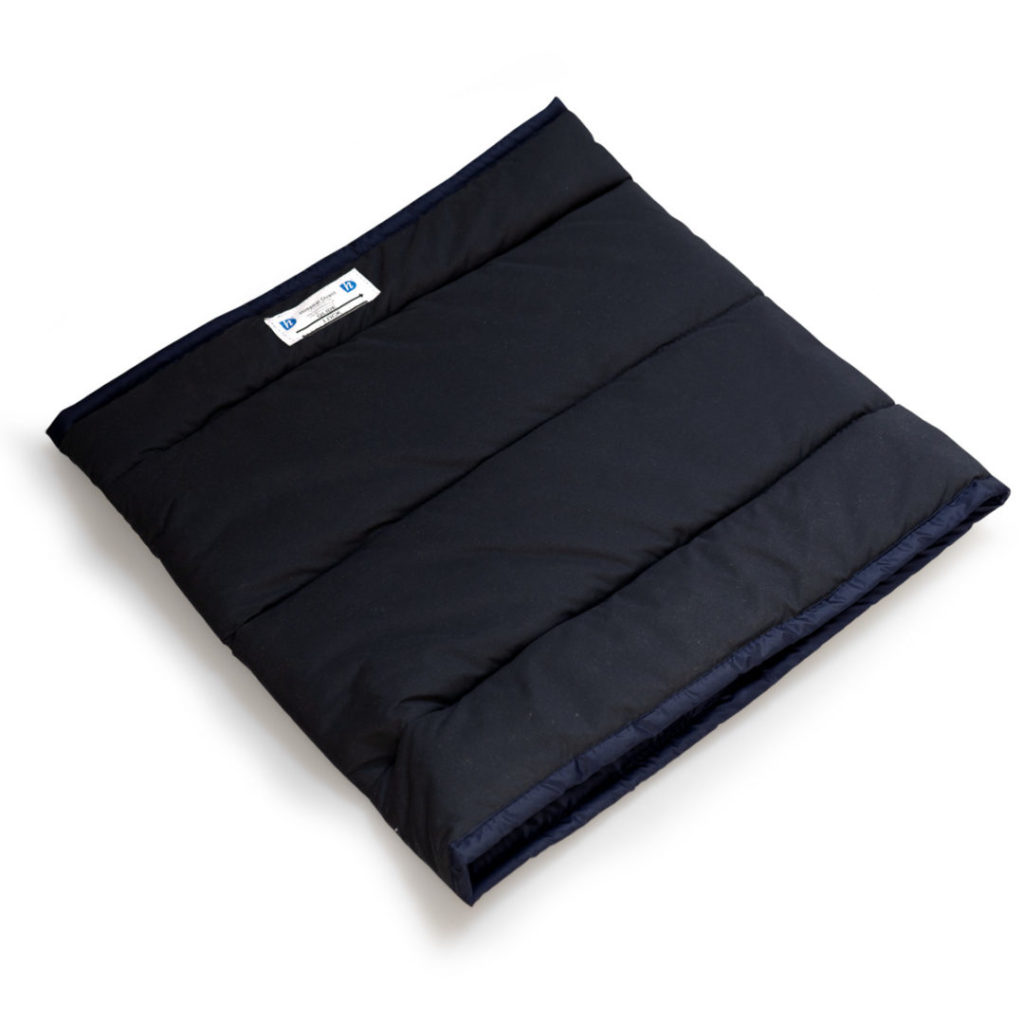
All of our Glide & Lock mats are soft and comfortable to sit on. However, if you are going to be sitting on a hard surface, or are pressure sensitive, then we would highly recommend getting a cushioned version.
Handles?
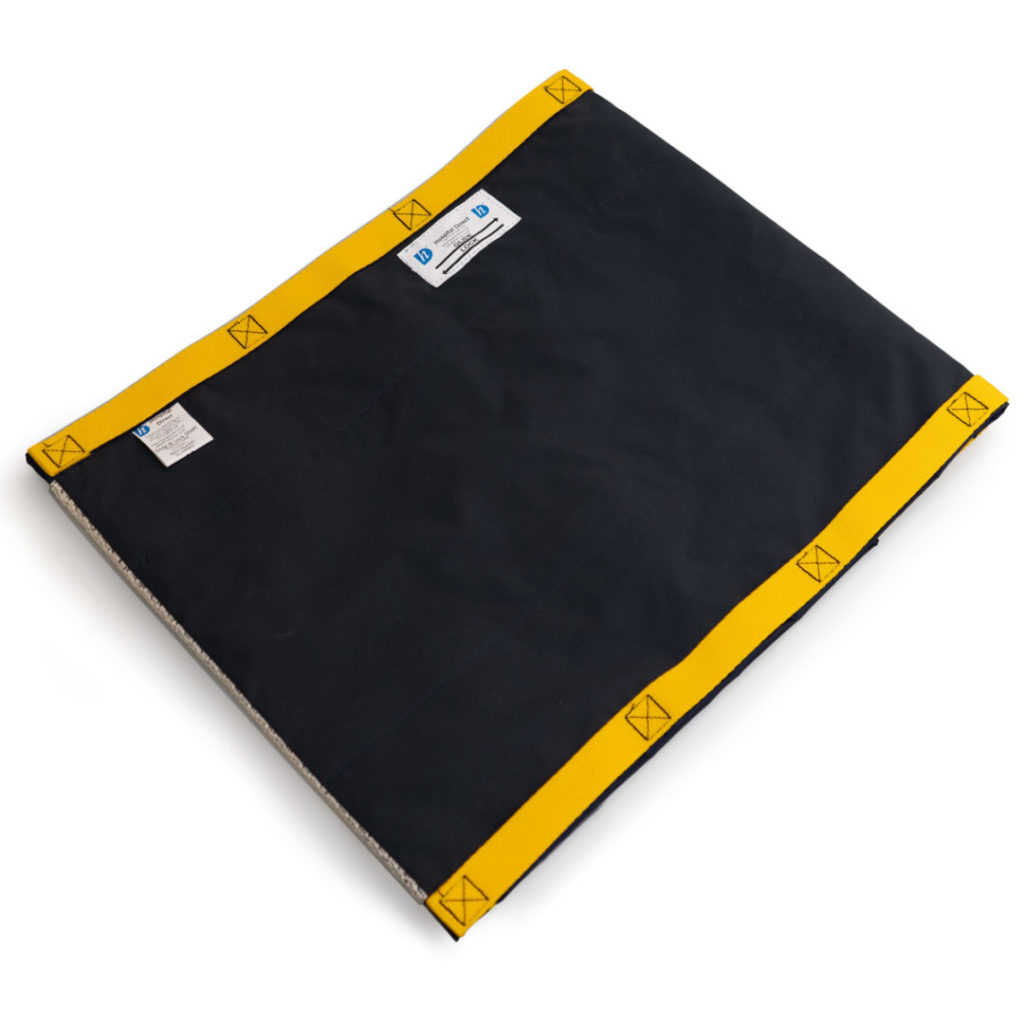
If you are not confident that you will be able to push yourself backwards, either now or in the future, then we would recommend ordering your mat with handles. They run down the open edge of the mat and help your carer slide rather than lift you back.
Wipeable?
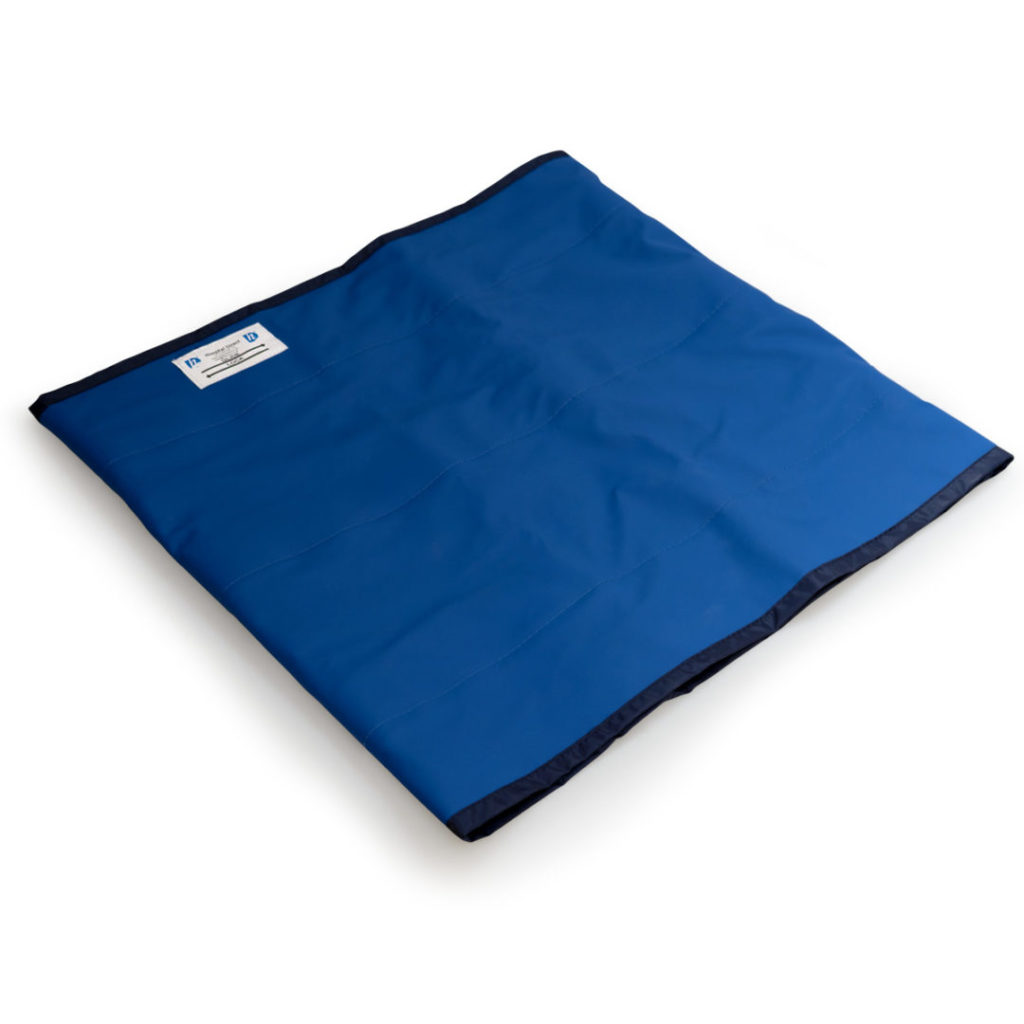
If you are tempted by the practicalities of a wipeable mat, but worried it will be uncomfortable to sit on, don’t be. It is still surprisingly soft. As with all of our Glide & Lock mats, it is also washable!
Size?
Generally speaking, the overall size of each Glide & Lock varies slightly depending on the options chosen. However for ease we have broken it down into the most common three sizes; small, medium & large.
A small Glide & Lock is suitable for a small wheelchair, or chair. The medium is perfect a standard chair or wheelchair. The large is for use in beds for people having to sit up, or in bariatric chairs.
Special uses
For Pressure REducing cushionS
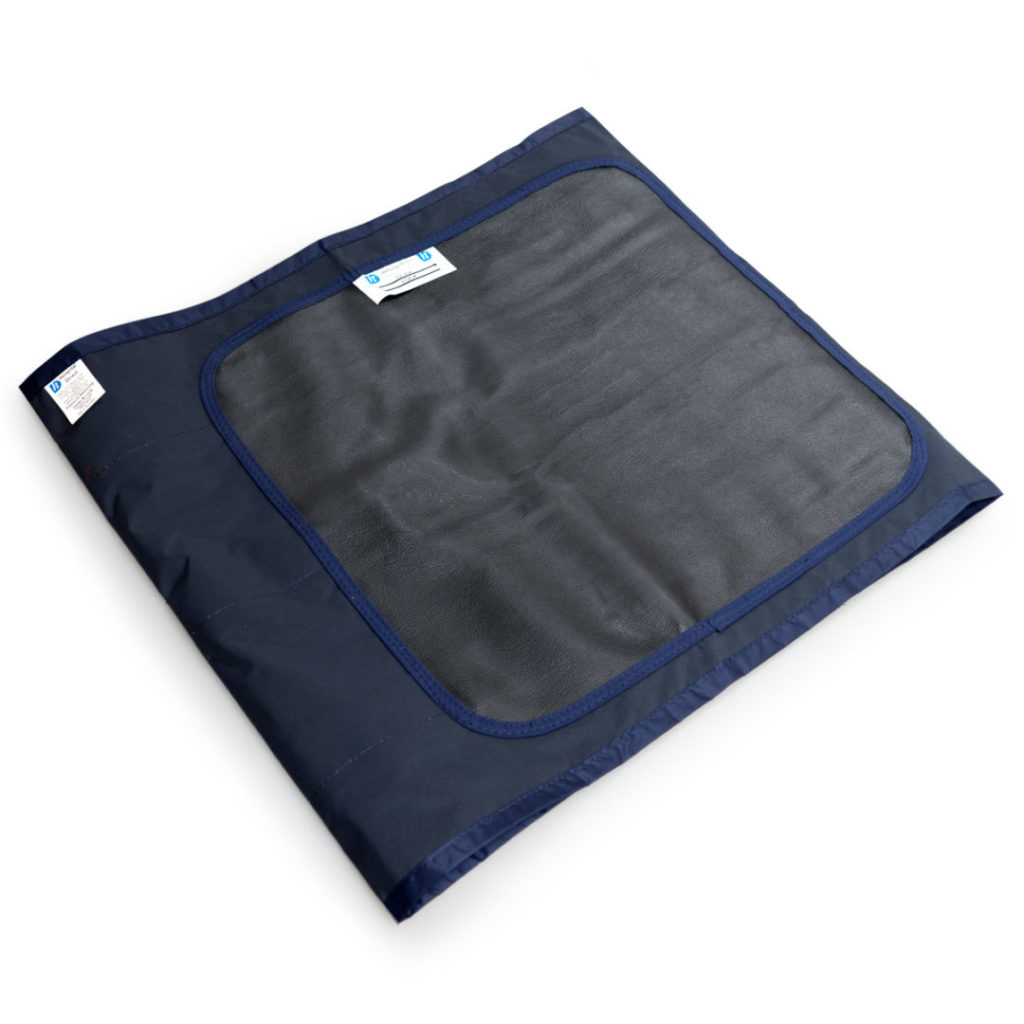
If you are currently using a pressure reducing cushion, but uncomfortable as a result of it moving around, then this product could be perfect for you. It is a standard Glide & Lock mat, with the usual anti-slip panel and internal one-way strips, but with an added non-slip top panel which helps to hold your pressure reducing cushion in place. Available with or without handles.
Glide & Lock with Rotary leg support
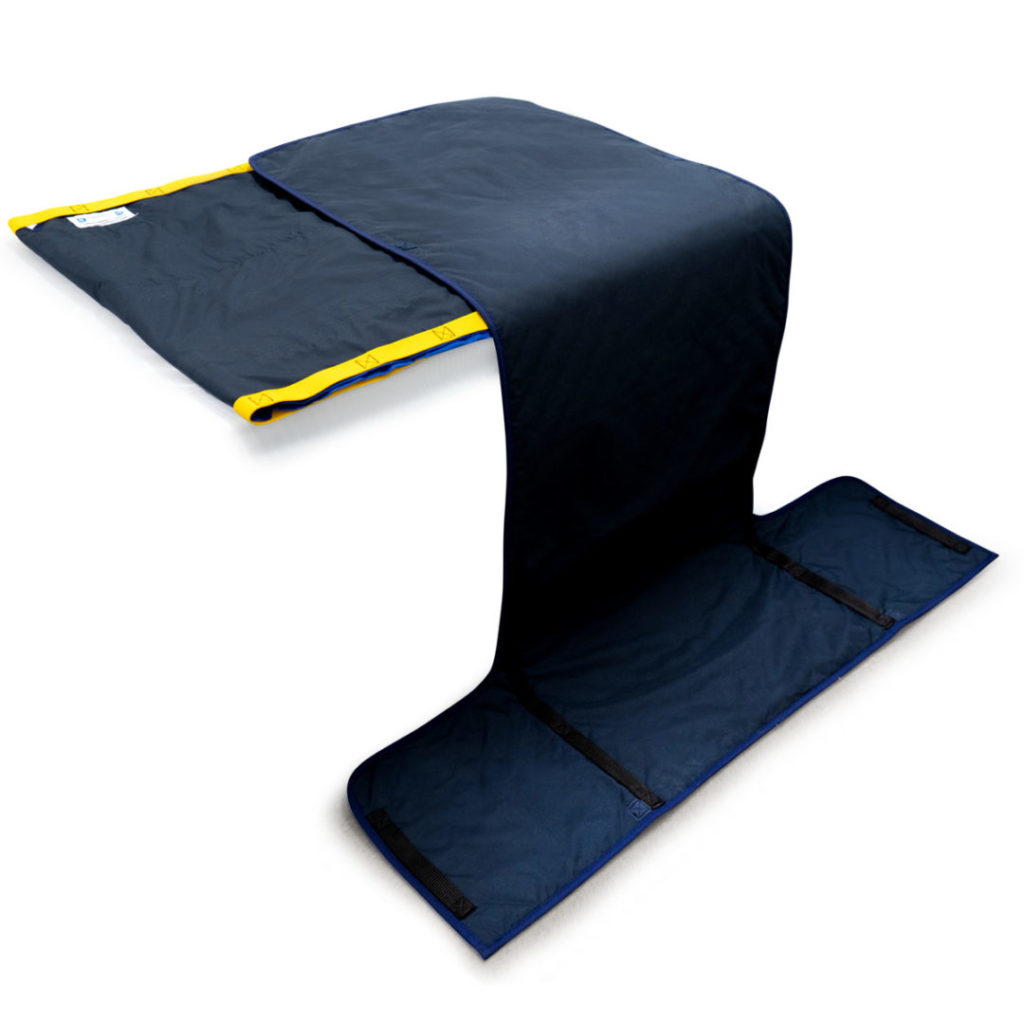
A hybrid, this product combines the concept of a Glide & Lock Slide Sheet with a Rotary Leg Lifter.
A larger sized Glide & Lock is fitted with a rotary disc. It is positioned on the bed as you would a conventional Glide & Lock. The Leg Lifter is then attached to it at the rotary disc, and the fish-tail left to drape over the side of the bed.
Start by sitting on the leg lifter with your legs hanging over the edge of the bed. Your carer can then easily lift your legs for bringing around over the bed using the handles in the fish tail. The Glide & Lock can be used to make fine adjustments to your position either towards the middle of the bed, or up the bed, depending on which direction you position it.
